


How to use your lol-cheap Rackable Server
Note: Scroll to the bottom for a quick summary
Welcome. If you have found this page, the chances are you were looking for information regarding to the low-budget rackable systems servers that have become available recently. (end of 2009) This page contains some useful links, and important information, to help you get your box up and running with all the advertised bells and whistles.
So what are we talking about here ? Specifically we are talking about the Rackable Systems Cxxxx and Sxxxx servers that have popped up on ebay for what amounts to pocket change, compared to similarly specced rack servers. Examples can be seen here, and here, and here, and here, and here, and here, and here,
and here, and here.There appears to be quite a bit of variance of the spec of the box but a lot of the things in this page will revolve around the management card so thats unimportant.
So, "whats the problem?" I hear you ask.
Well it appears that in their infinite wisdom, during Rackables aquisition of SGI, they have hidden all the original Rackable Systems documentation, drivers, and information. While the basic operation of the hardware is pretty simple to figure out, the operation of the management card, and some of the other bits requires a bit more guidance. So after much searching i have found this information and i present it here.
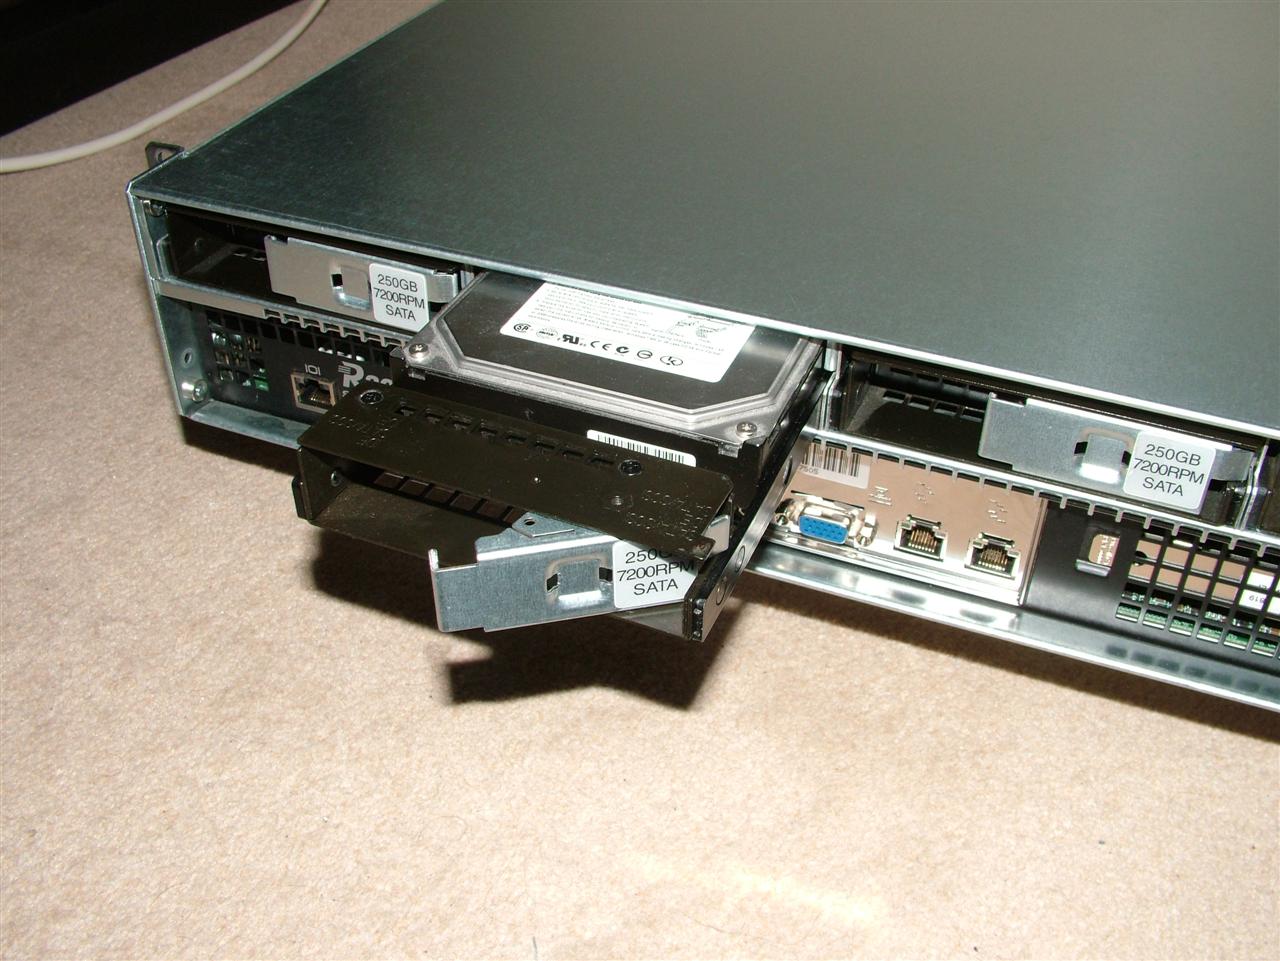
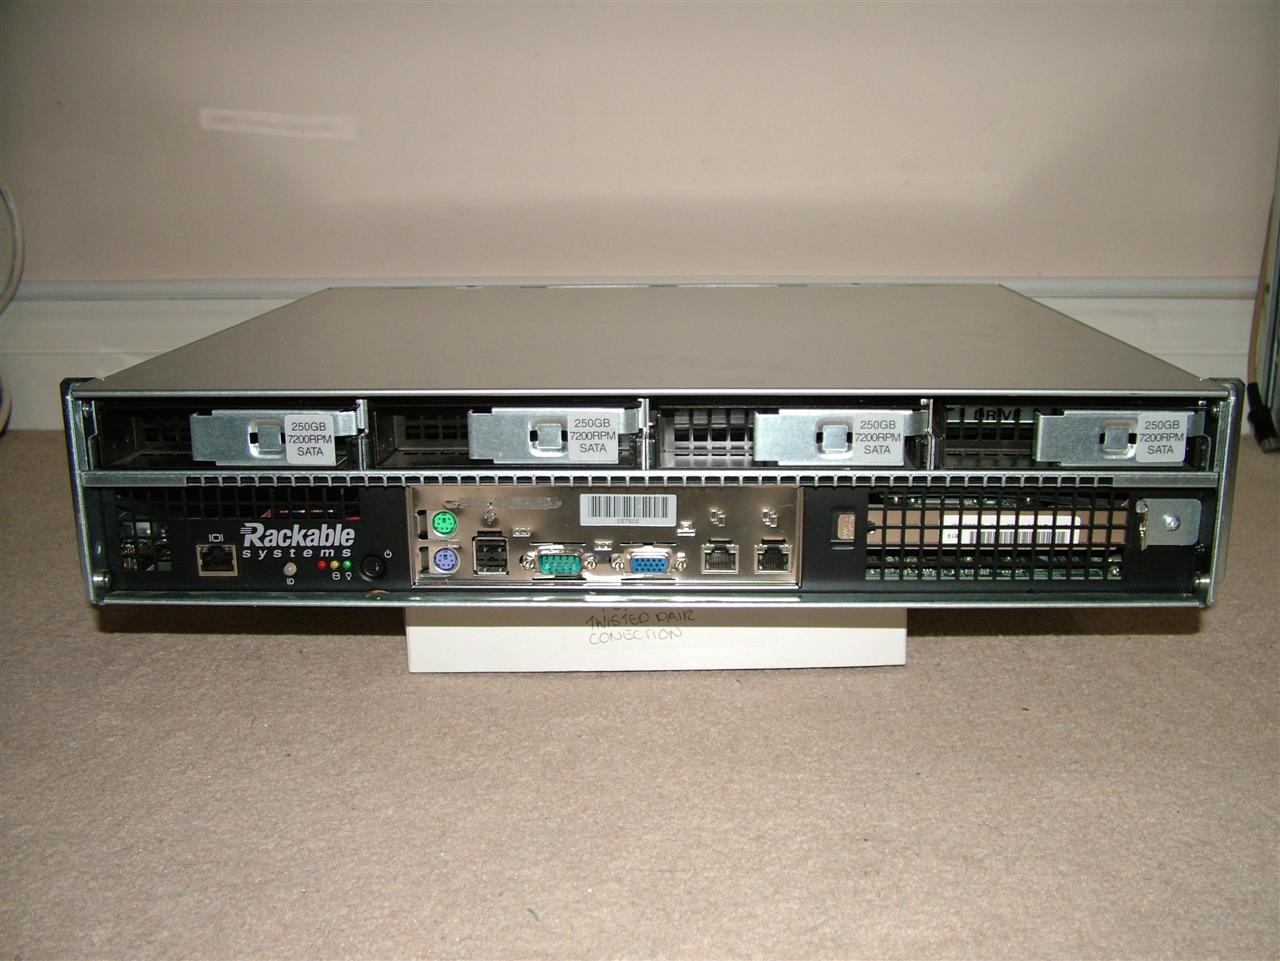
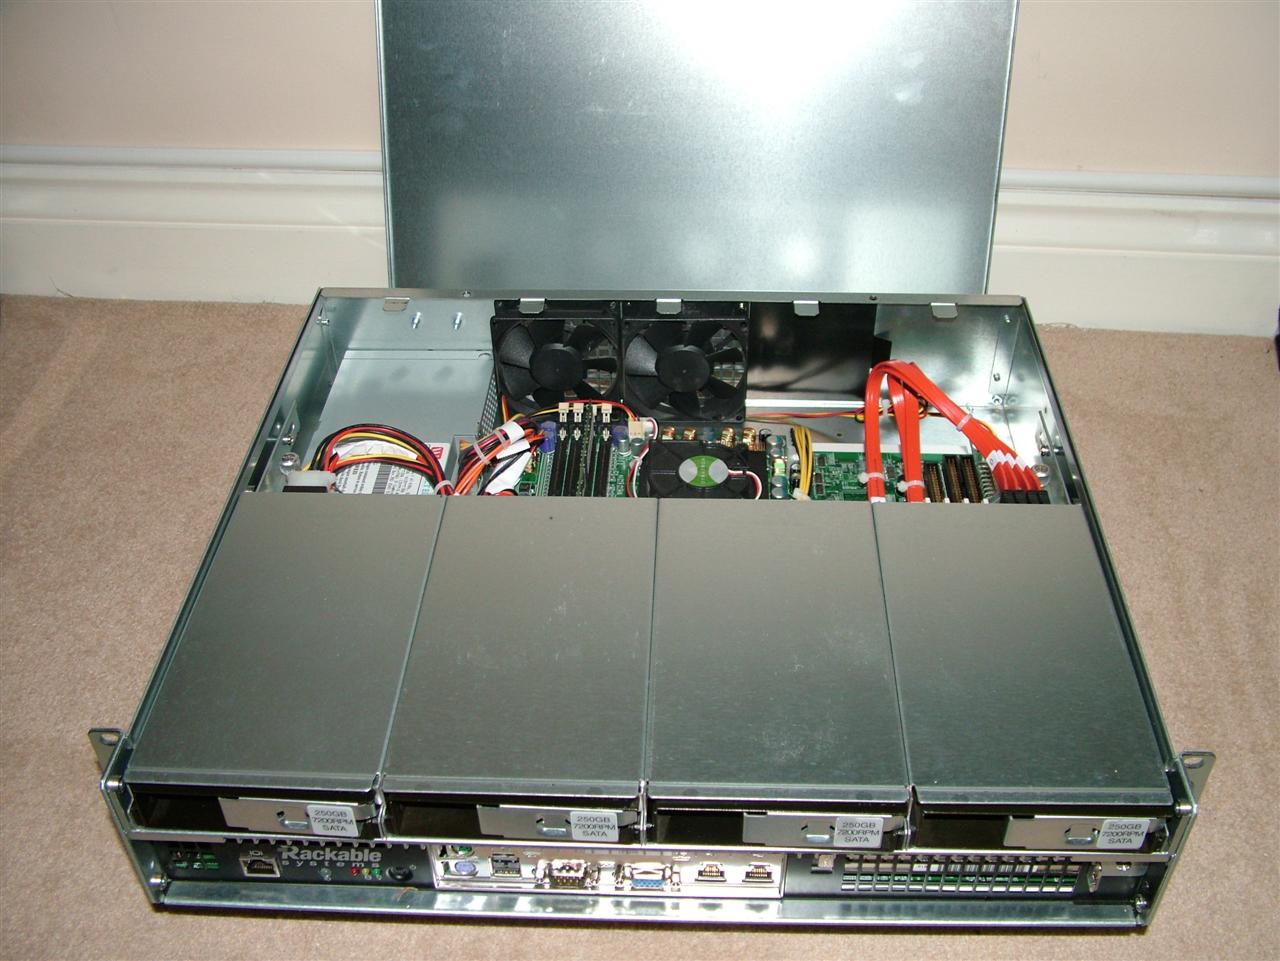
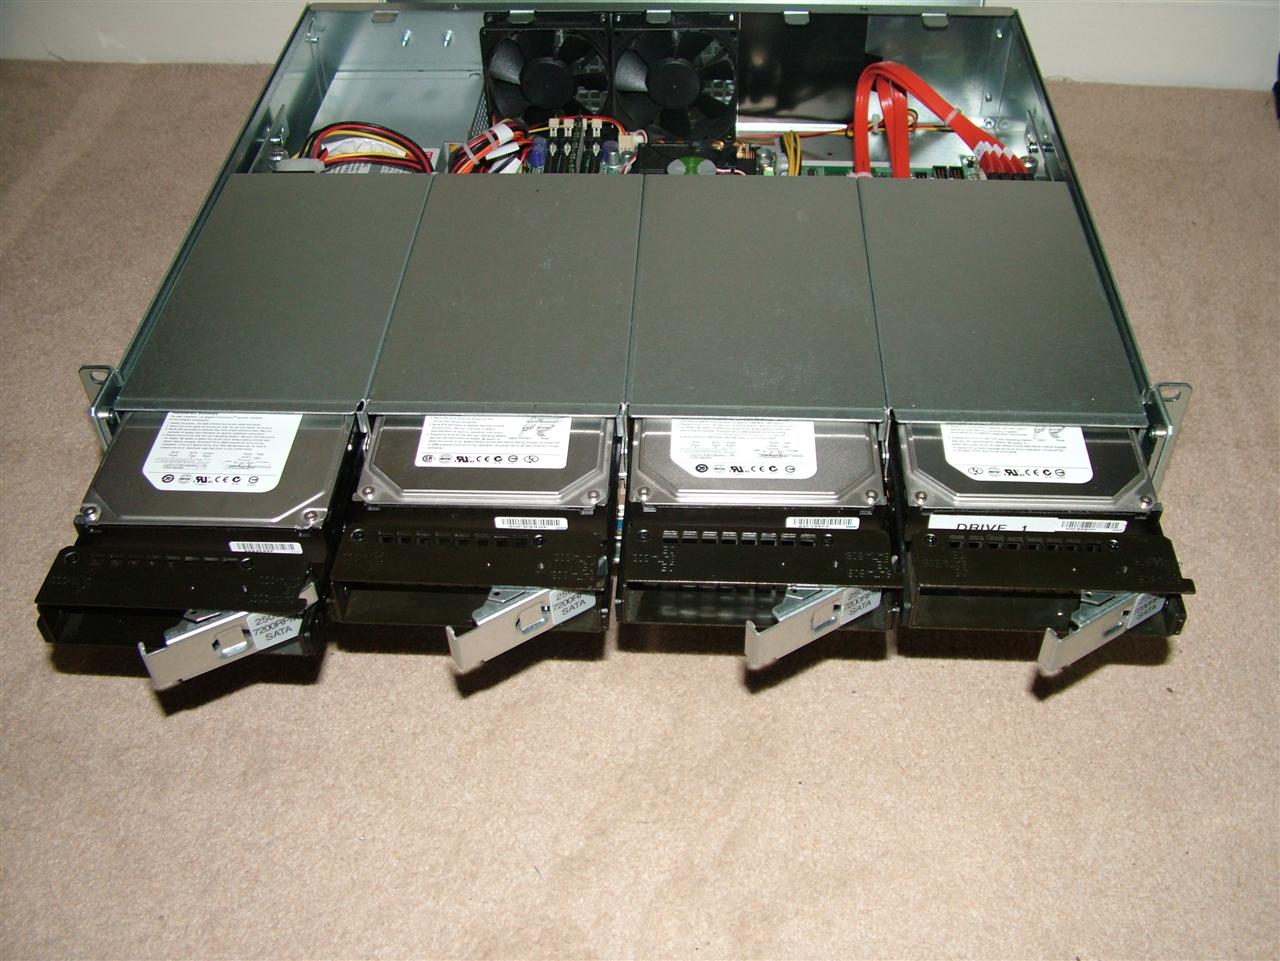
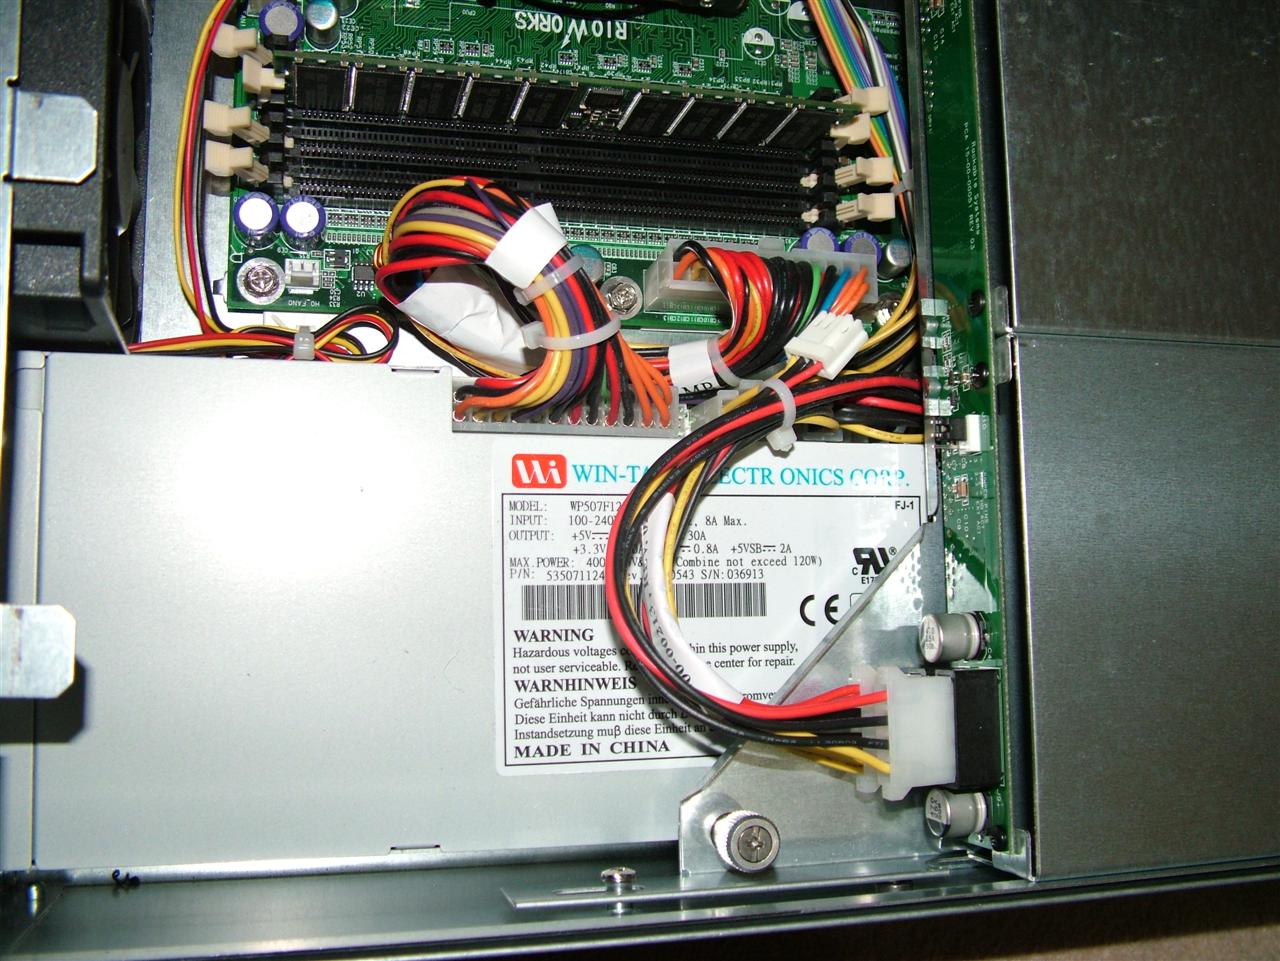
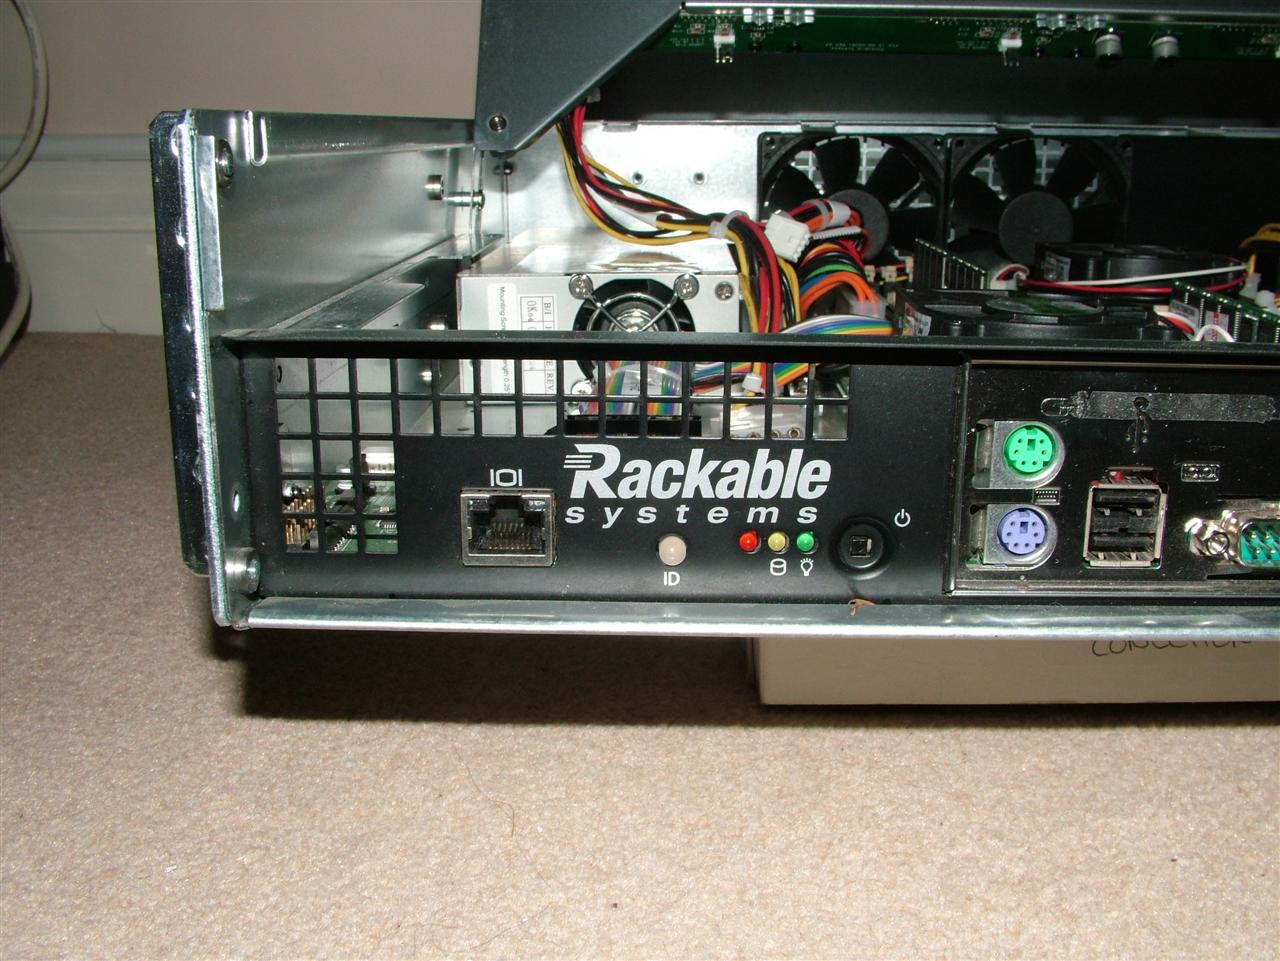
First, some pics of the unit i acquired. (click for bigger pics)
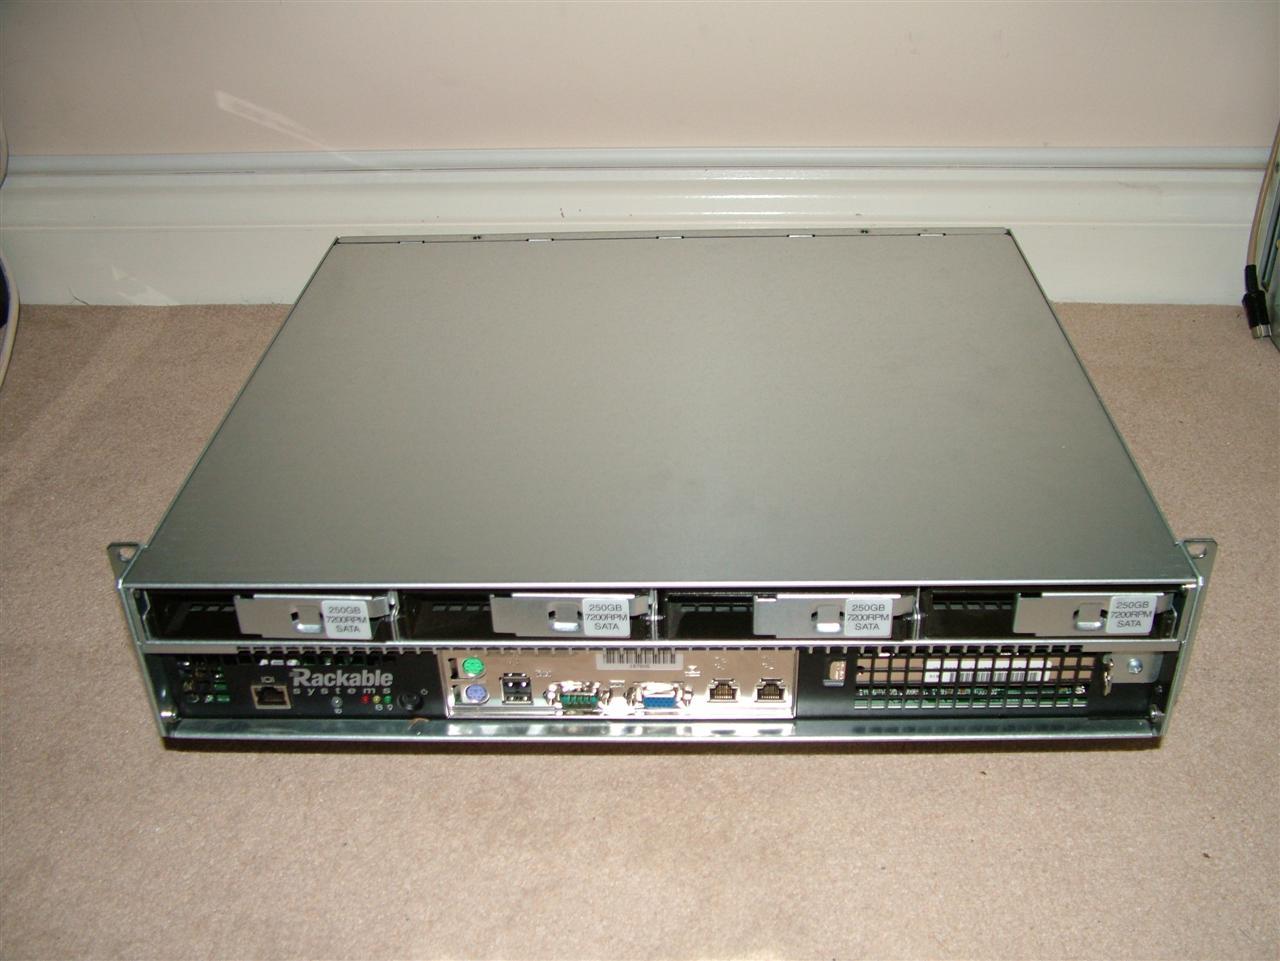
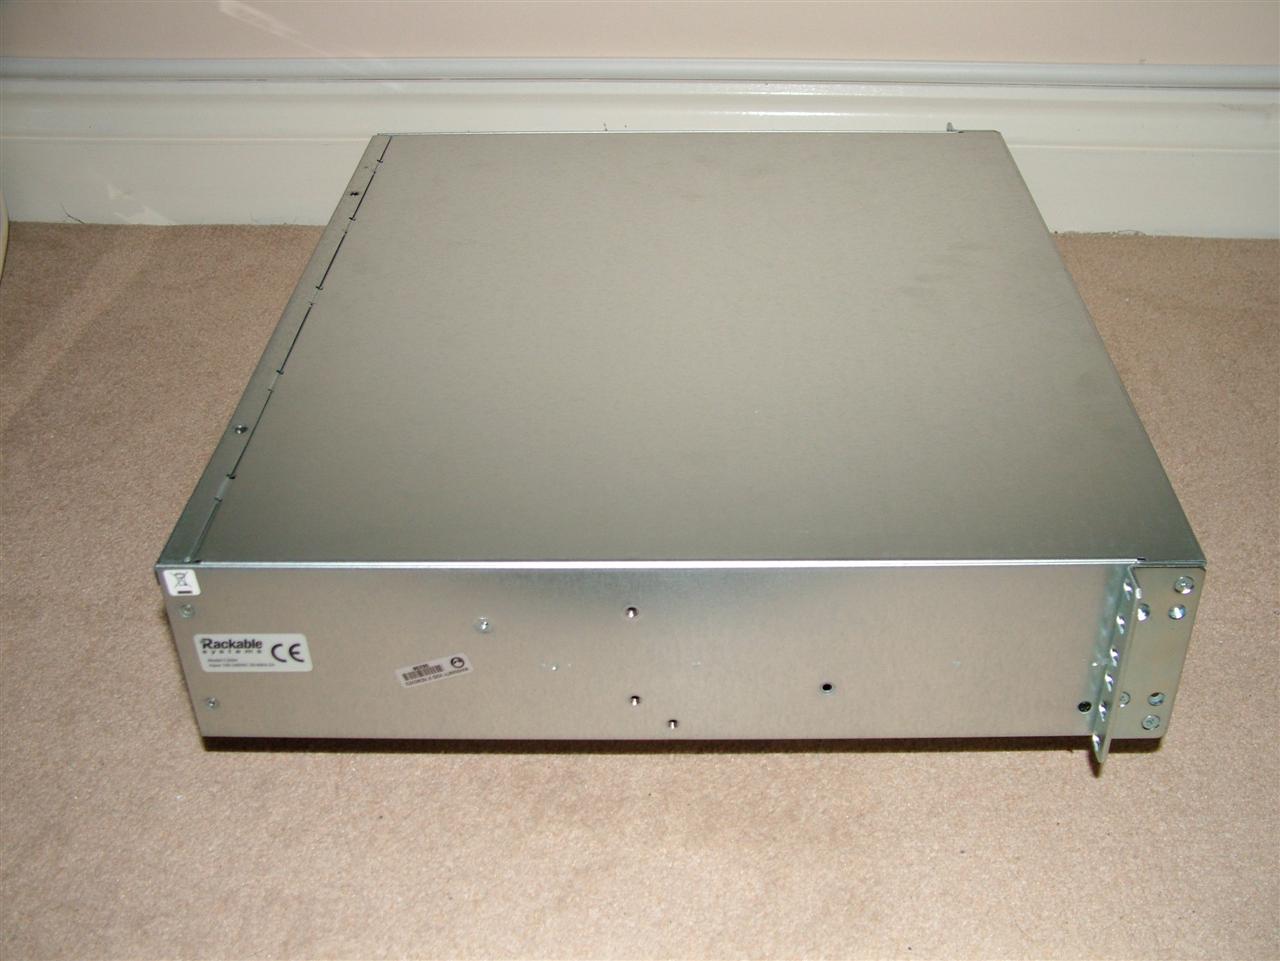
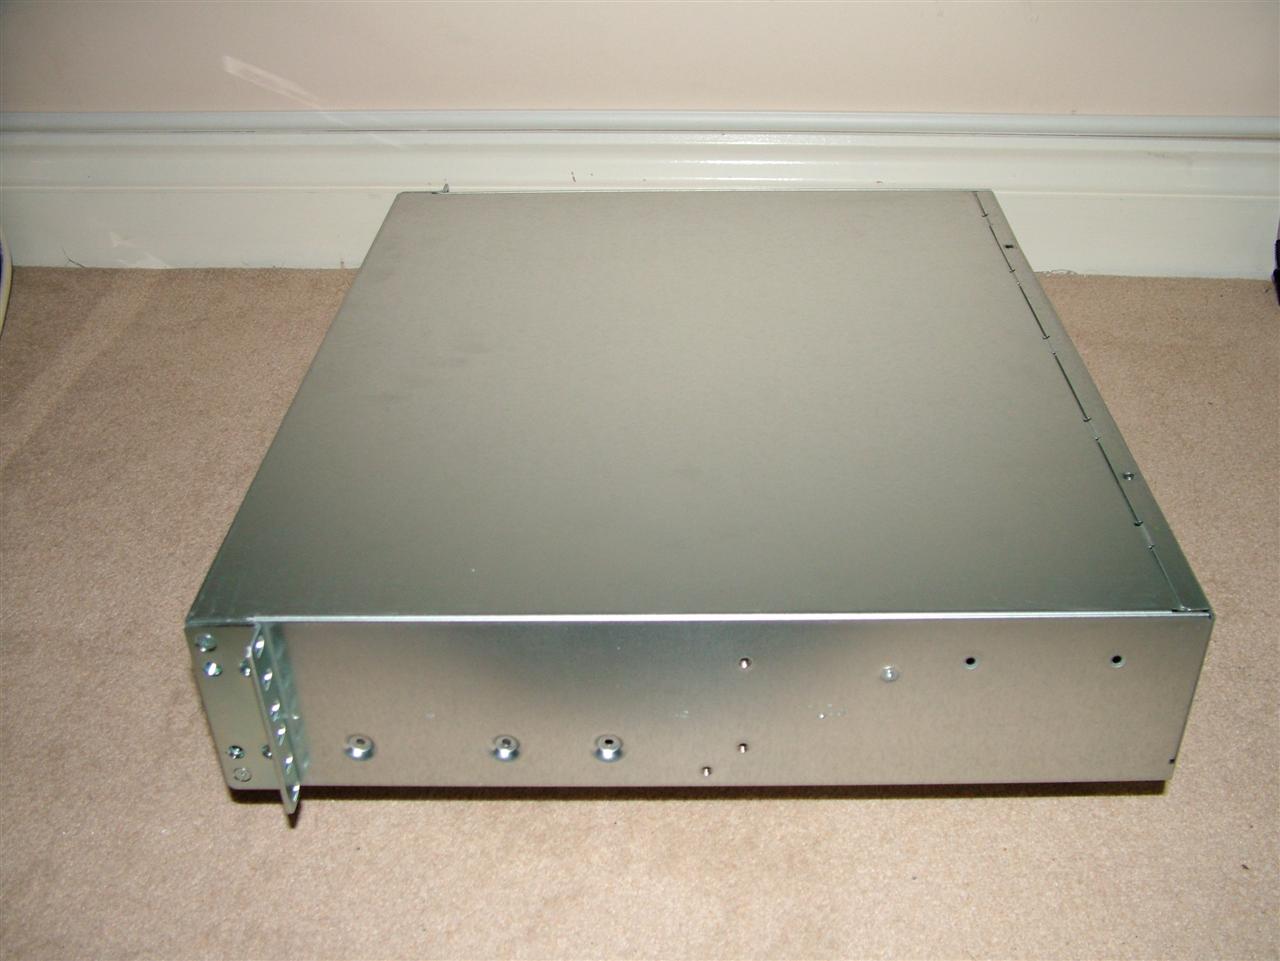
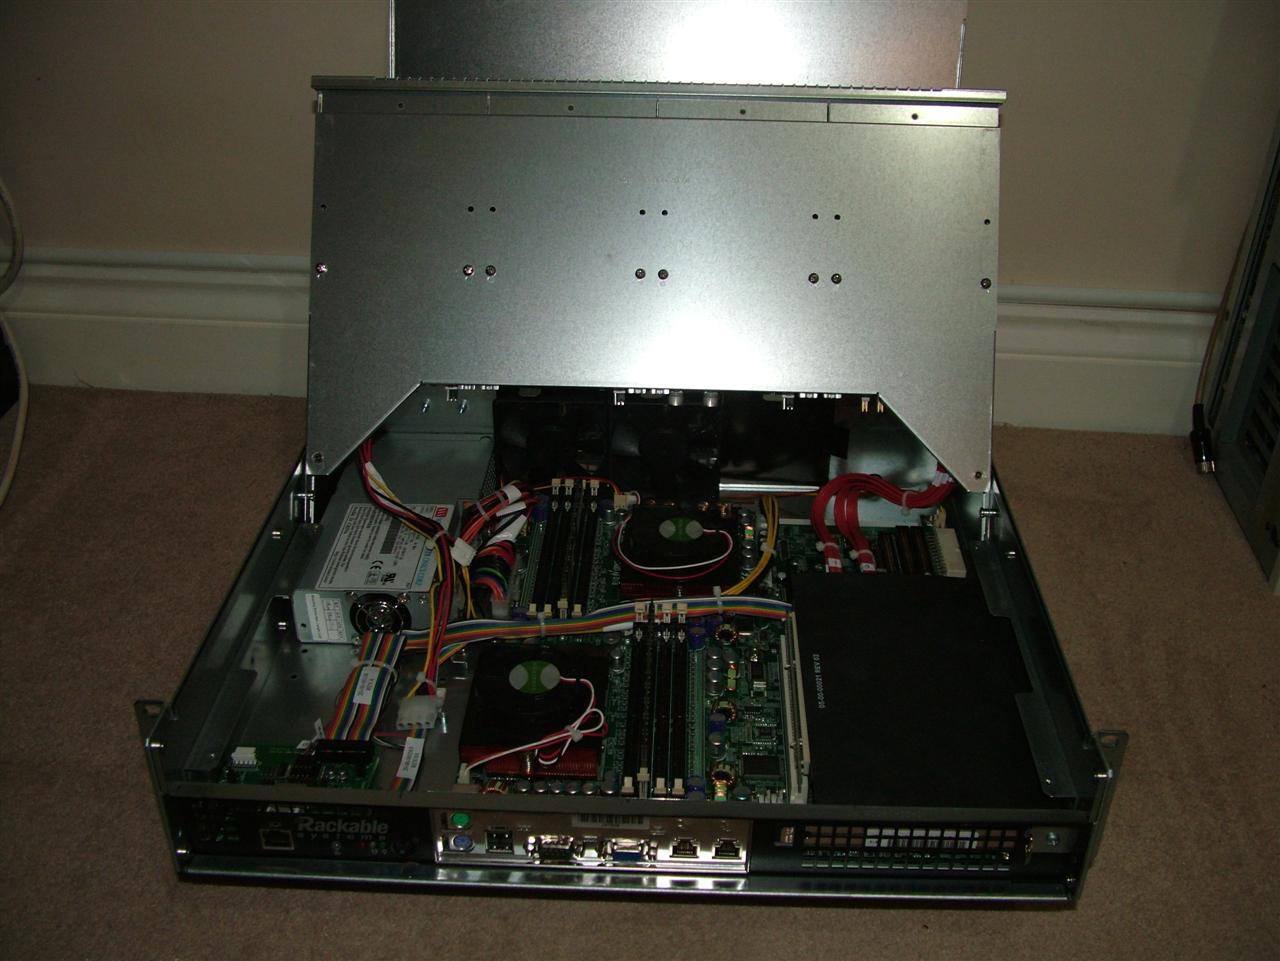
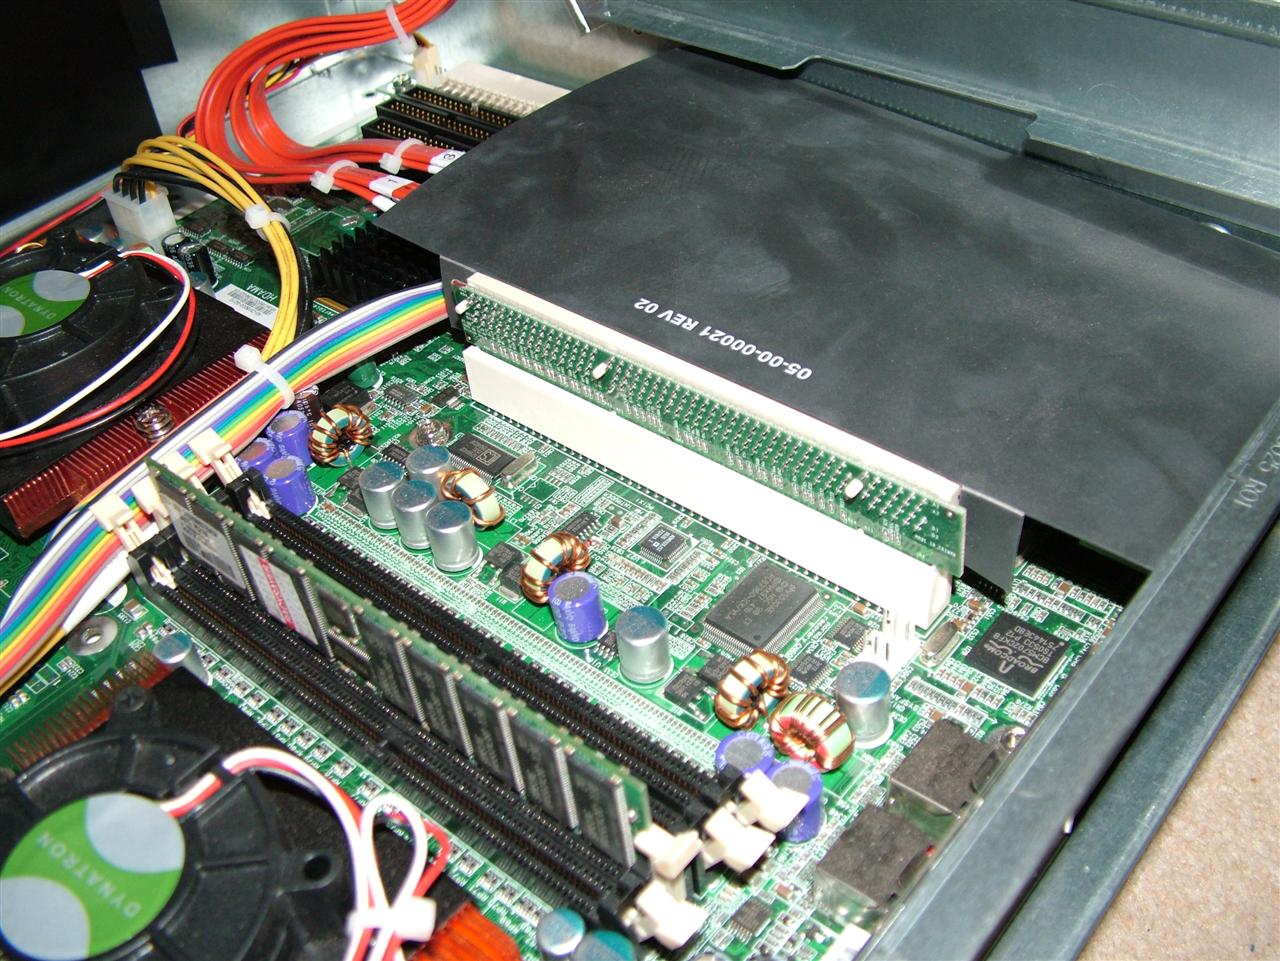
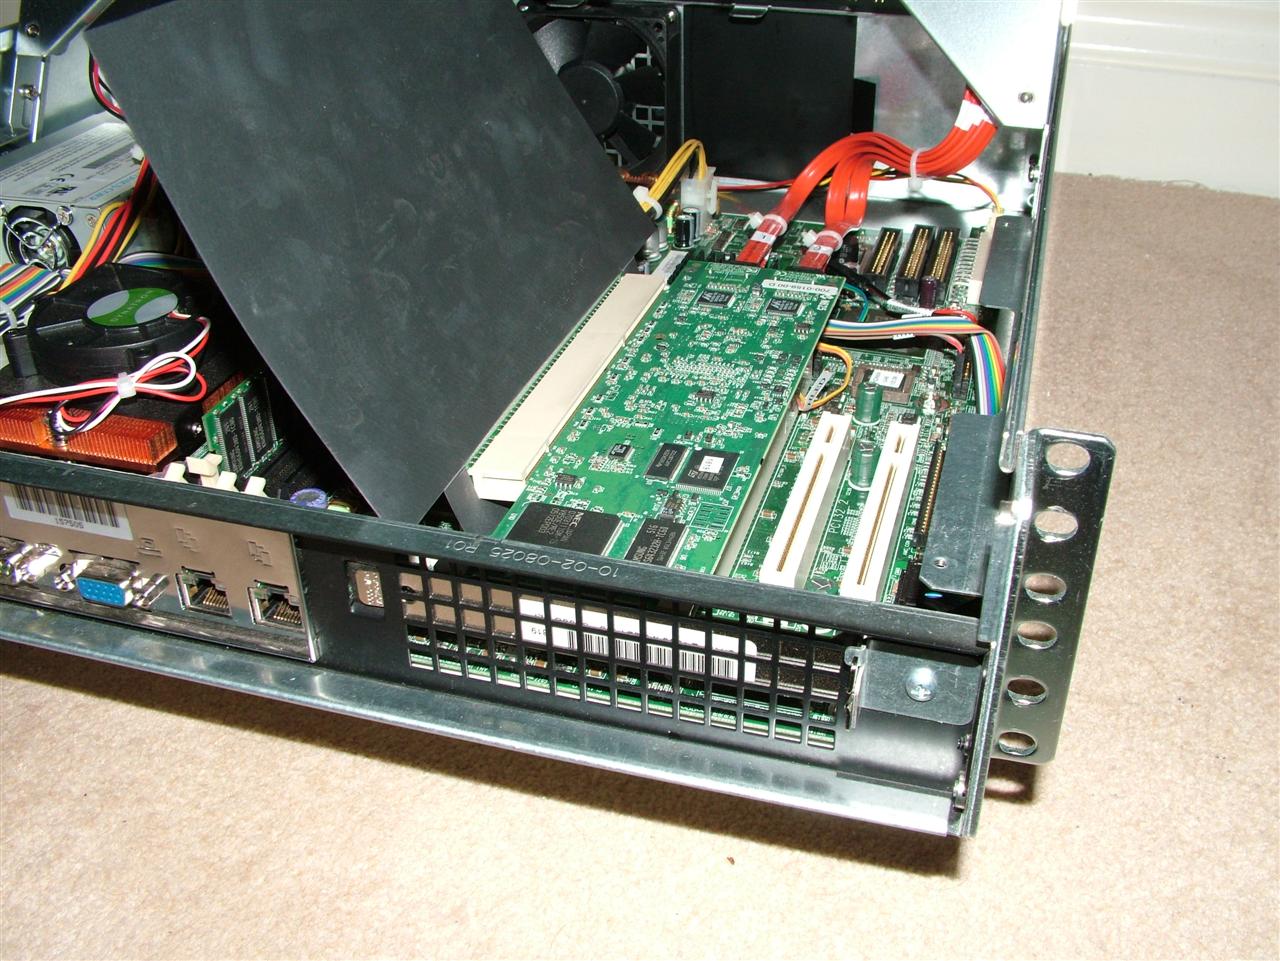
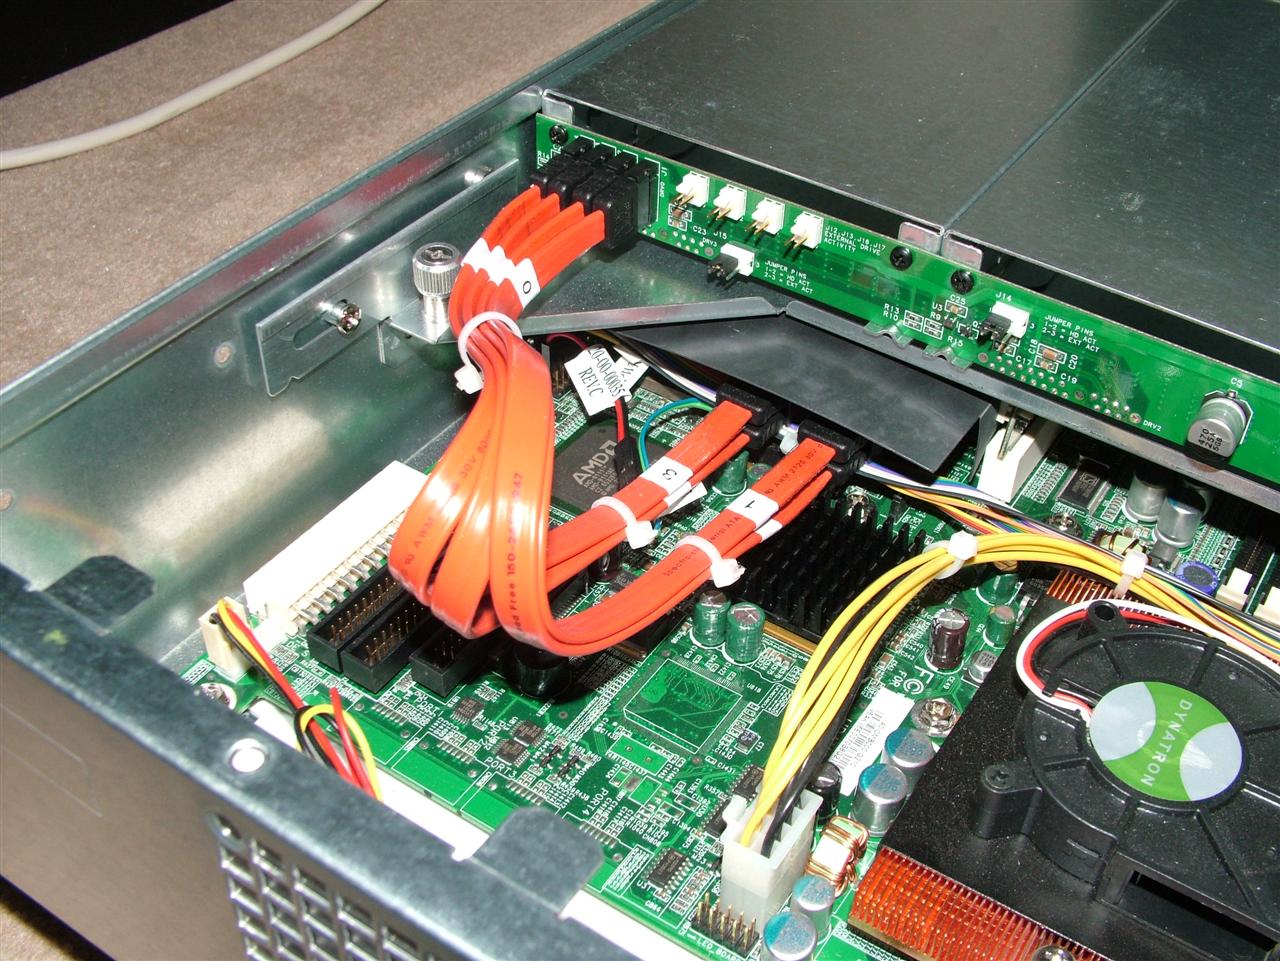
Ok. So. Down to the nuts and bolts.
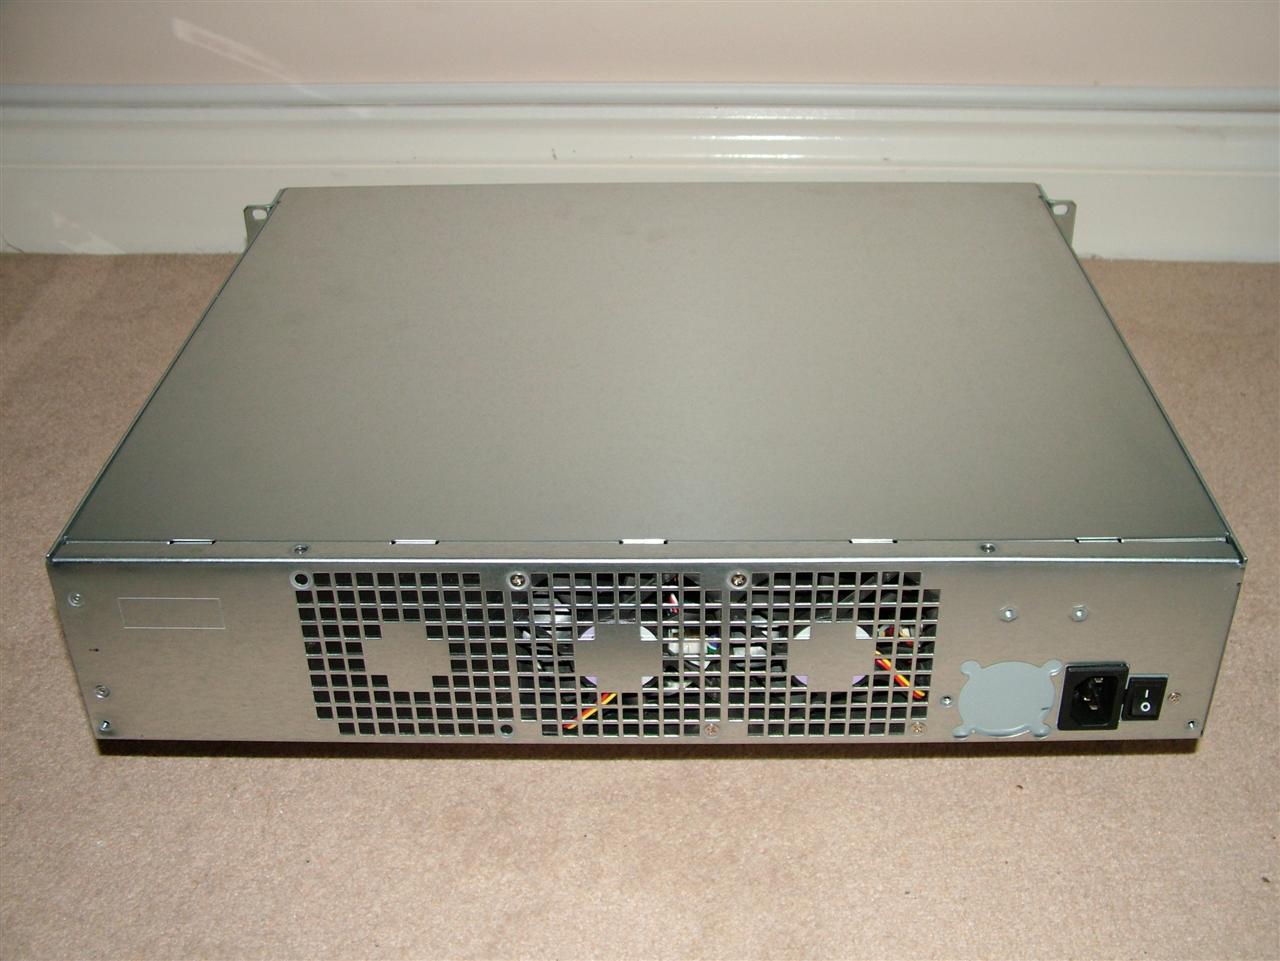
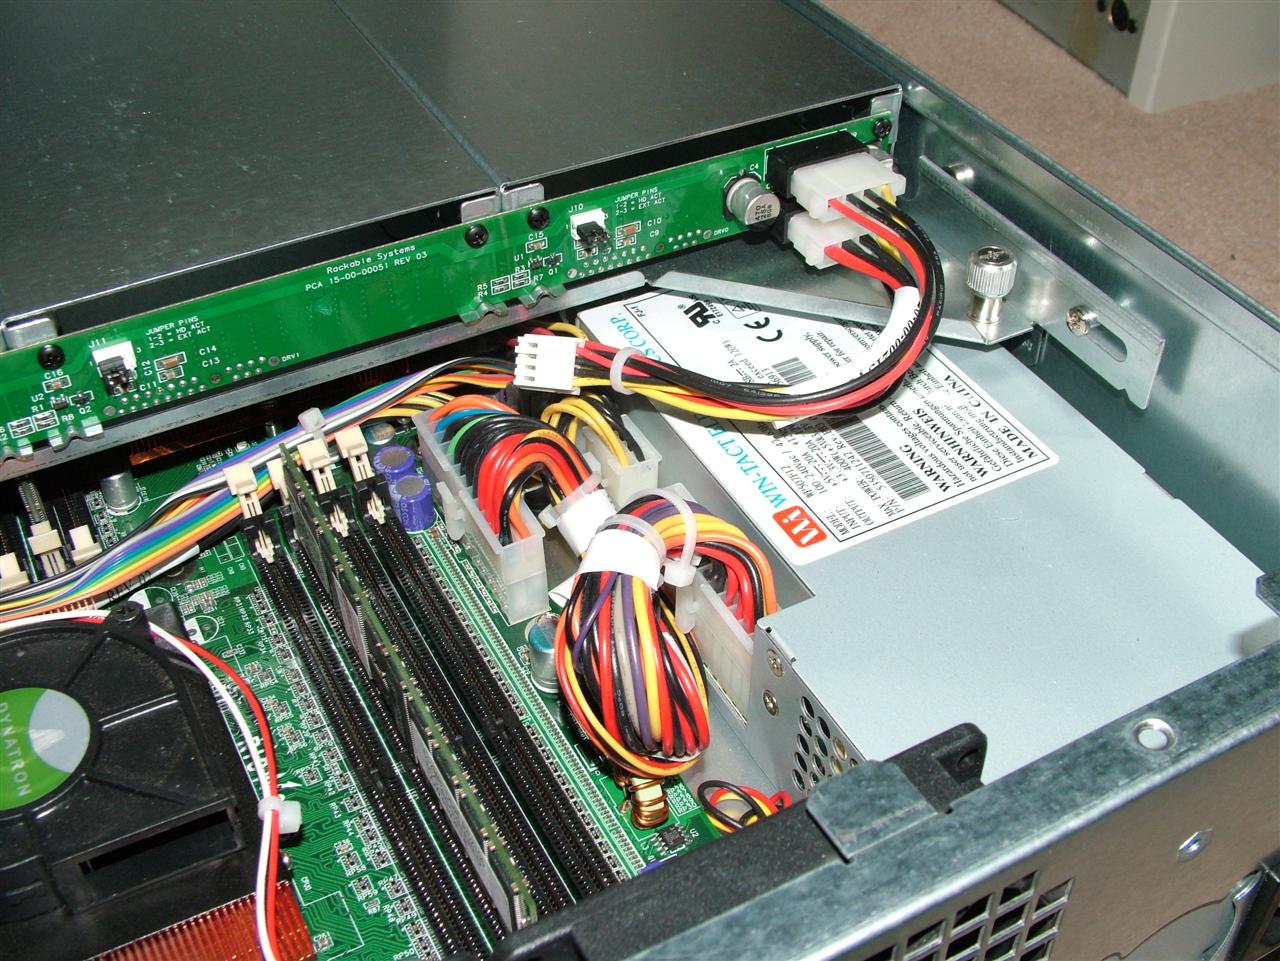
The Power Supply
Unlike most power supplies, this small form factor 400w unit is modular. That is to say that all the cables plug into the PSU,
rather than being hard wired into the case. While thats handy, should you ever need to replace the PSU, the actual availability
of these PSUs appears to be somewhat limited. You would probably have to go back to Rackable / SGI to get a replacement, and
given the price of the servers on Ebay, its probably cheaper just to buy a new box.
The manual for the PSU is available here: 1220241989xn2f8 (Rackable PSU).pdf
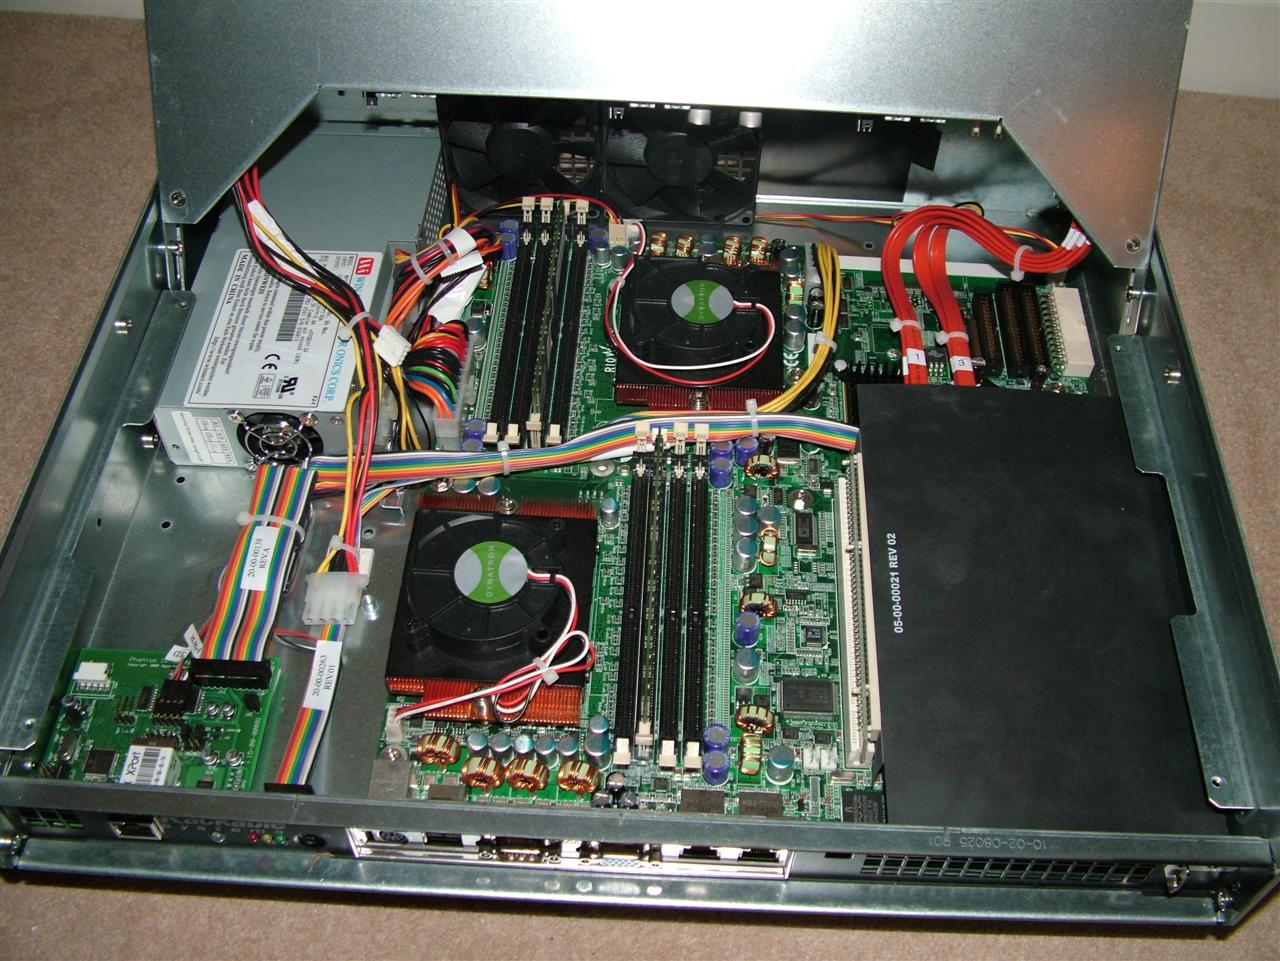
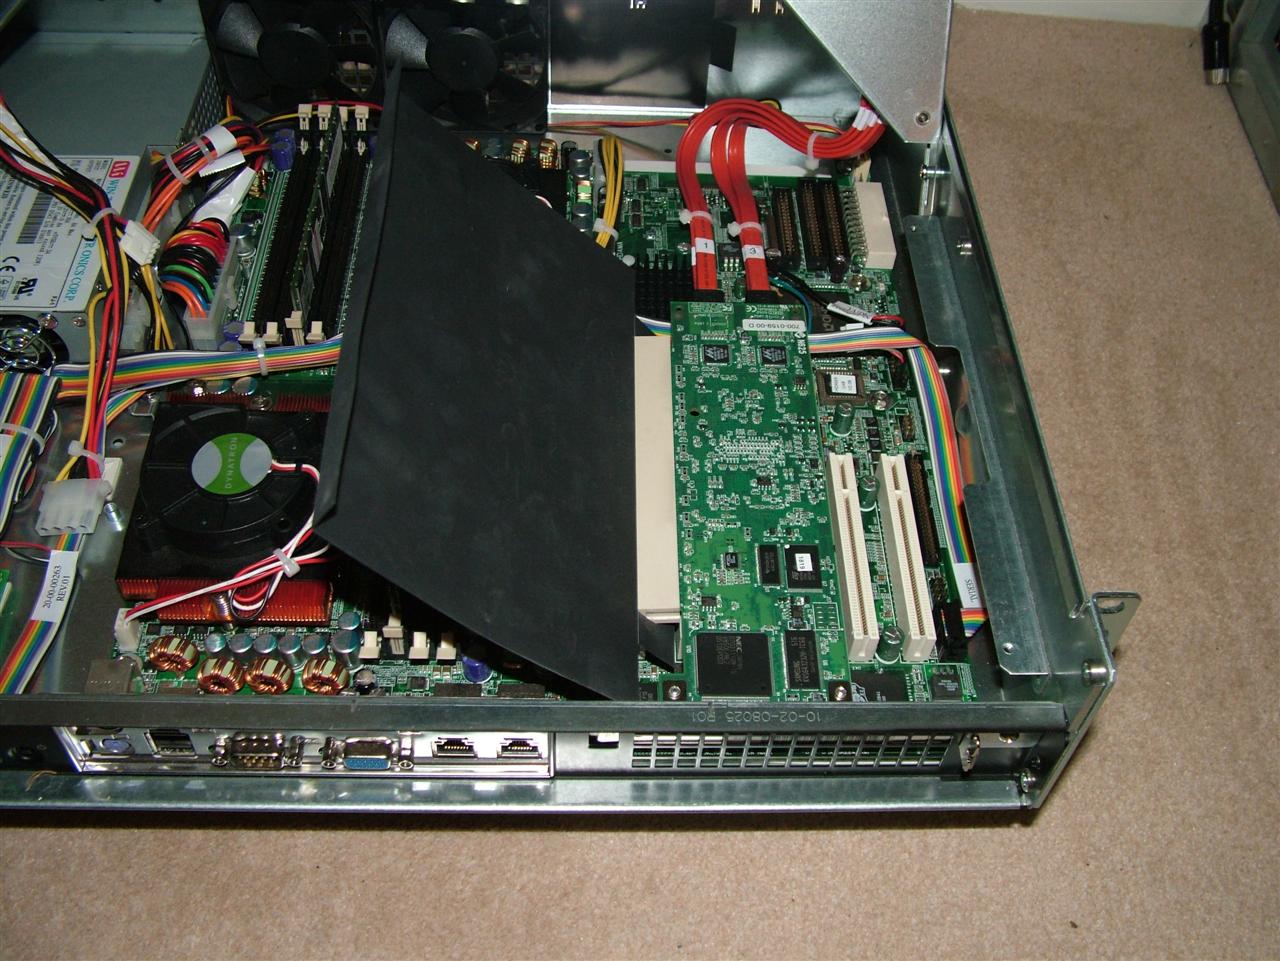
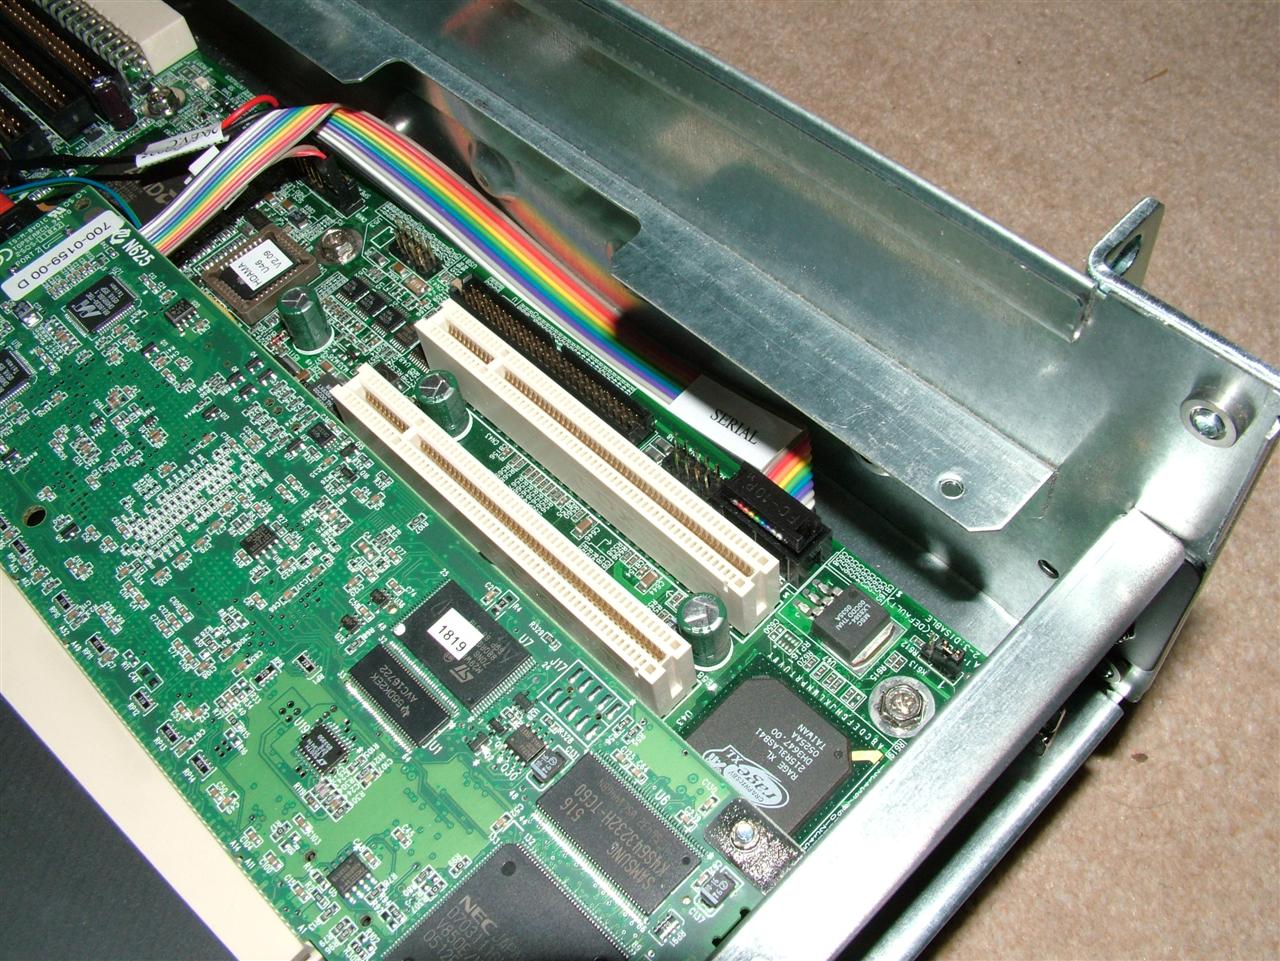
The Motherboard
As I said above the actual PC specs vary, but the main model that I'll be talking about here is the C2004 Dual Opteron
server. This model is based on the Arima Corp HDAMA motherboard. Drivers and manuals for this board can be found here:
Arima Corp HDAMA Downloads. Be aware, in some of the
research I have done I have discovered that certain BIOS revisions break the console redirection. Don't update unless
you think you need the new features, and check to make sure you take a backup or have a copy of the original version before
you flash.
Something else to consider is the ram. According to the manual, this board takes Registered ECC ram. Specifically you need PC2100 or PC2700 DDR 1 ram. Theres plenty available on ebay for not too much, but check who you are buying from. There are a lot of dodgey dealers out there who sell knackered ram.
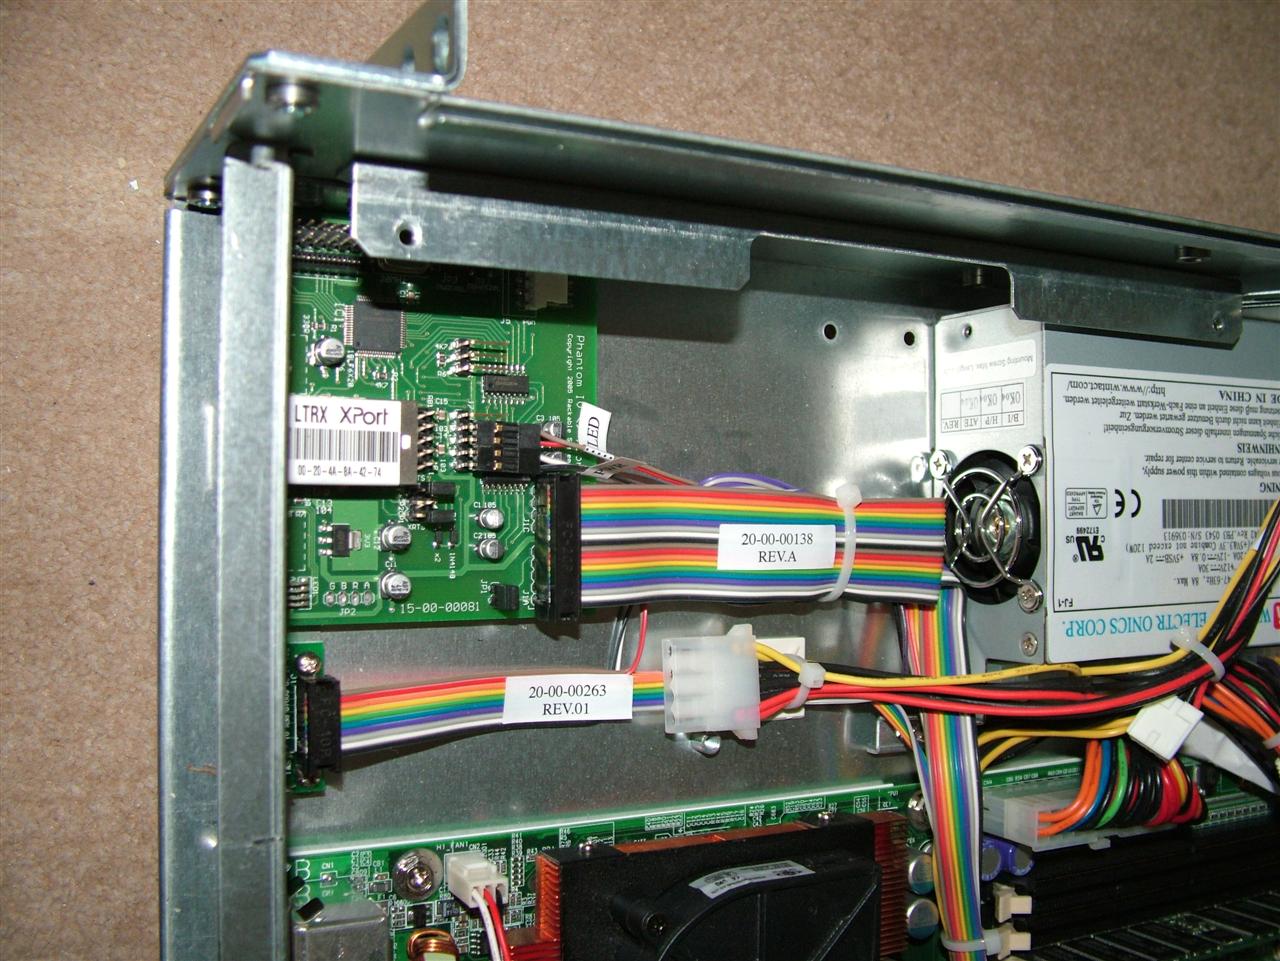
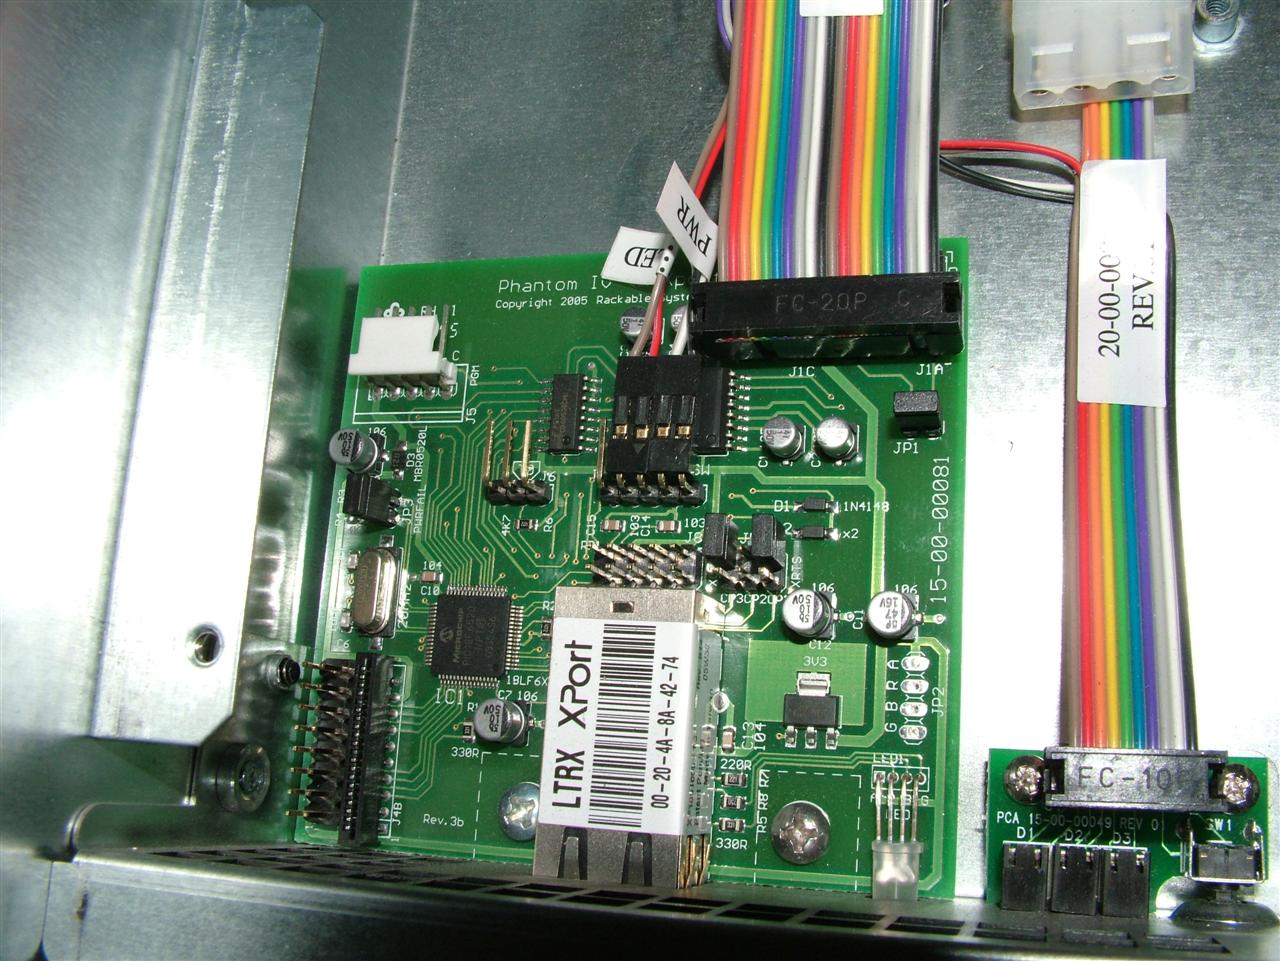
The All Important Management Card
Remote "lights out" management is one of the features that seems to have caught most peoples eye when it comes to these servers.
The problem is that information surrounding the cards is next to non-existant. After a lot of hunting I have come up with the
following info.
The C2004 units come with one of four remote management configurations using a board called a "Phantom" or "Roamer". The name
Varies depending on how recent the unit is. "Roamer" is the new name. The configurations are as follows:
- No Management
- Serial only management
- IP Management with Serial Over LAN.
- IP KVM
None of the cheap models I have seen come with the IP KVM option so I wont talk about that in detail except to say it has a lot of very useful features like remote CD/floppy image upload. USB access. Full VGA IPKVM in a web browser support and IPMI. If anyone knows where I can get my hands on the Roamer KVM card, please post in the multiplay thread here: Multiplay Forums
The serial only option adds some additional features beyond basic console redirection including Temperature monitoring, and remote power control.
The most common option appears to be the Serial Over LAN option. This uses a Lantronix XPort intergrated linux web server to control the "serial only" module via TCP/IP. You are presented with a Management IP (to administer the XPort unit, and a Telnet IP for connecting to the actual Phantom serial card. Once connected you have several options depending on the current configuration of your system:
- Power on / off the server
- Reboot the server
- Adjust the local admin LED (red / green / blue)
- Store text in a "scratch pad" for later use
- Enable / disable local OS access to the Phantom
- Read the temperature of the system (requires thermocouple)
- Alter text and contrast of LCD display (requires front mounted LCD display)
By far the most useful of these is the remote power on / off function, so i will now detail how we go about getting it all working smoothly
How to get the Phantom card working
Frist the XPort
Out of the box the XPort should "just work" however its not obvious how. Experience has shown that the web management tool is not installed correctly on any of the ebay units seen so far so first steps have to be made using the telnet interface or the device installer application.
If you already know what IP address the device has chosen you can just point a telnet client at that IP address on port 9999. This will connect you to the XPort administrative tool and produce something like this.
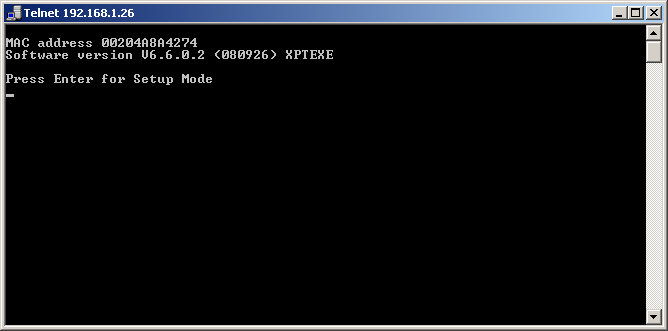
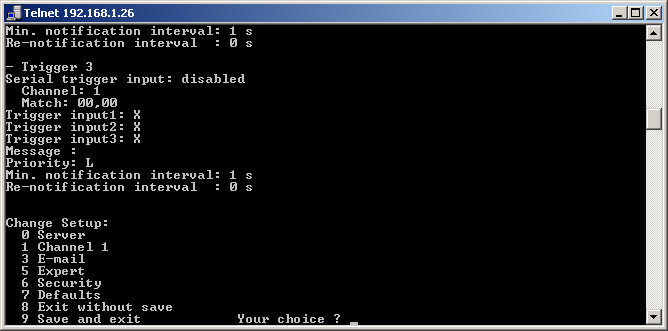
From this menu you can setup IP settings, tweek the serial settings (which is the speed at which the xport talks to the roamer - best to leave that alone), the ports for the Serial Over LAN, and some other settings that I haven't quite figured out yet.
An alternative method of connecting to the XPort is to grab the Lantronix Device installer. This can be downloaded from the lantronix site, here: Lantronix Device Installer
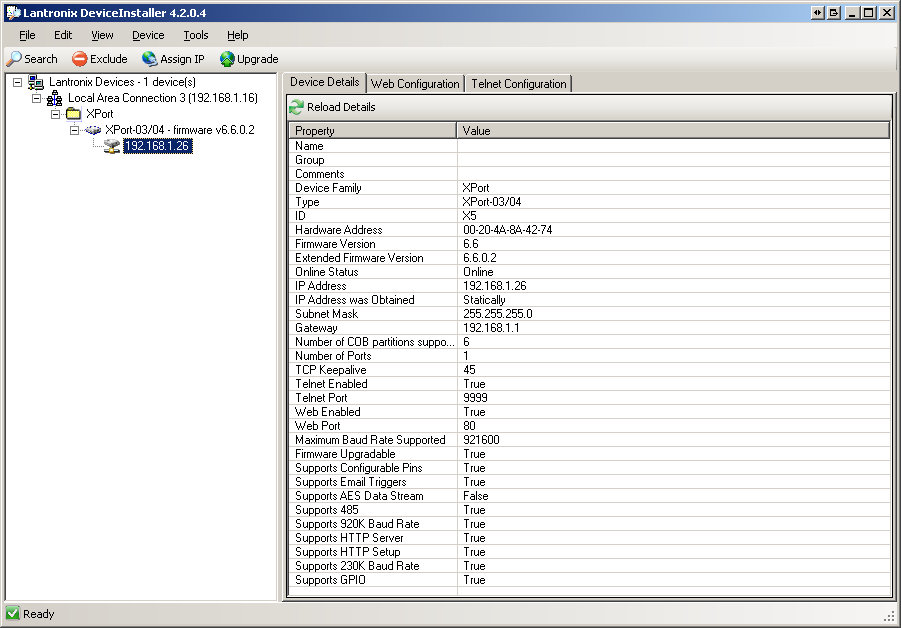 The install software will automatically search the local subnet for any XPort (and similar) devices and present them in a
tree view for you to see. From here you can browse the current settings of the device, connect to the web admin, telnet,
and push out updates.
The install software will automatically search the local subnet for any XPort (and similar) devices and present them in a
tree view for you to see. From here you can browse the current settings of the device, connect to the web admin, telnet,
and push out updates.
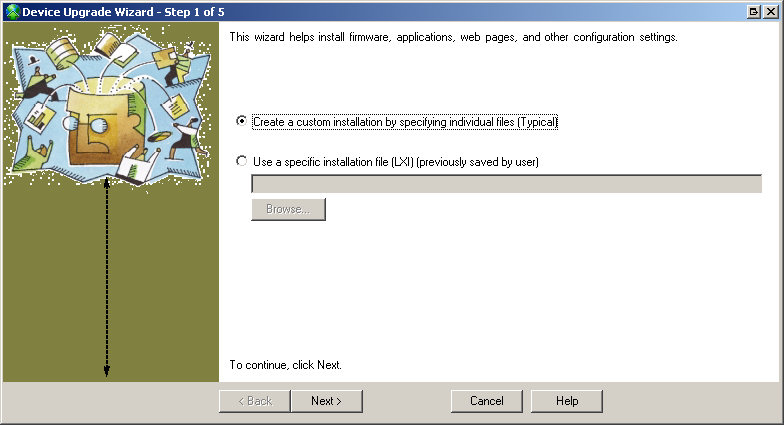
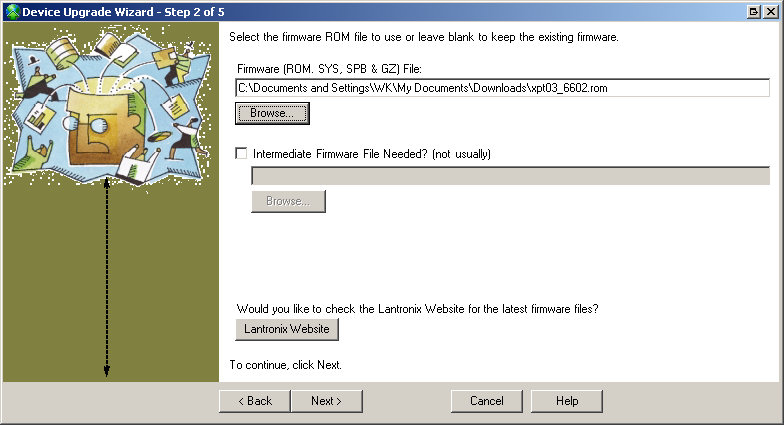
As I said earlier, the web admin on these devices is normally not setup properly initially so you will need to do that yourself. Before we do that, you'll want to get the updated firmware installed. To do this, simply download the firmware from the Lantronix site here: Lantronix XPort Firmware (currently v6.6.0.2), Also grab a copy of the web interface (v1.7.0.1) for installation in a moment.
Check the version of your Xport (it will tell you when you connect via telnet). If you are running version 6.x You shouldnt need the "Loader" as this was intended to upgrade from version 1.x to 6.x.
Once you have the filesand hit the upgrade button on the installer. Select the firmware, and nothing else. Follow the prompts and it should start installing the update. Make sure you dont have any active telnet sessions as this can break the update.

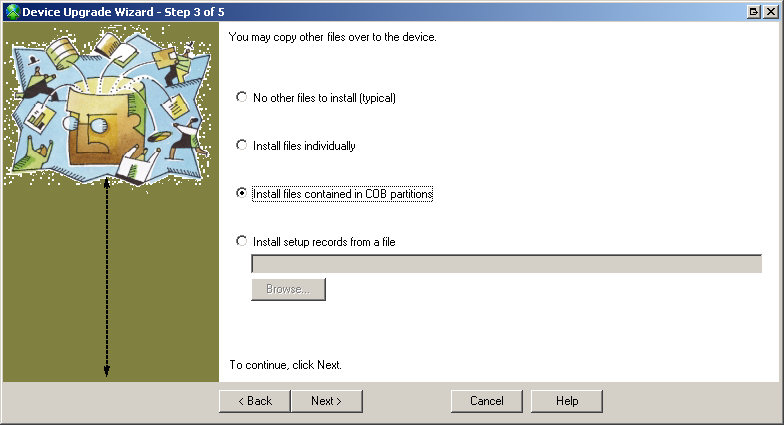
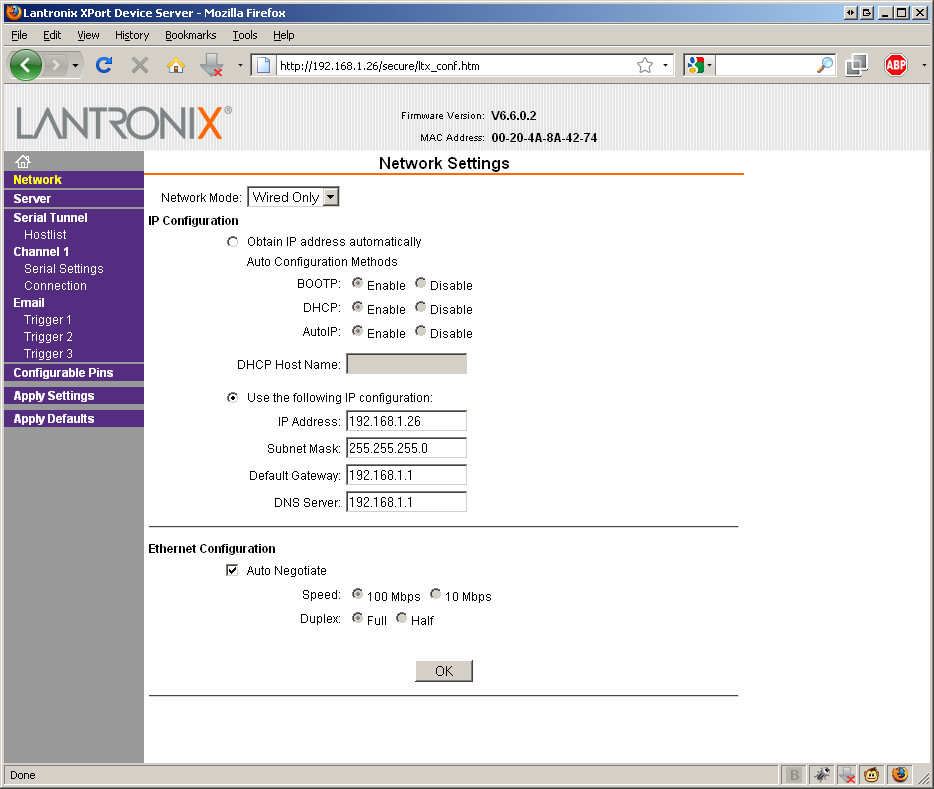
Once the update is installed, it will reboot the XPort and telnetting back in will confirm the upgrade has taken effect. To install the web admin update repeat the update process, but this time dont select any firmware on step 2, and select the COB partition option on step 3. At step 4 select partition 1, hit set partition, then select the COB file. Then complete the wizard. You should now have a working web admin page. Just point your browser at port 80.
Serial Over LAN
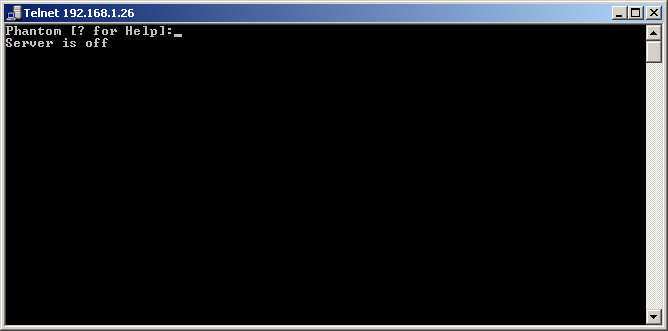
Now for the useful part, the actual remote console redirection. Ensure that the machine has power then point a copy of telnet to the xports IP address, but this time on port 10001. If the machine is off then nothing much will happen. Hit the power button and you should get something like this:


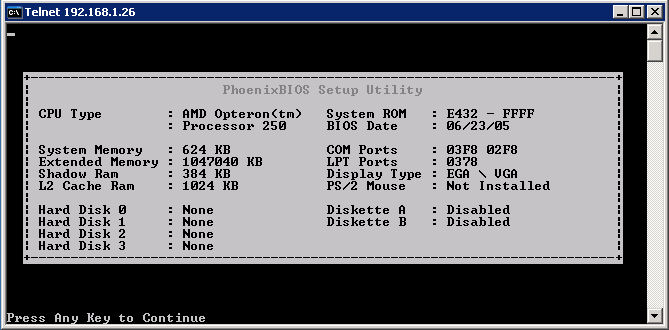
Once you get this far, you can now send control commands to the Phantom card to get into its administration mode. Press "CTRL + SHIFT + 6". Then press "?". This will result in the following menu.
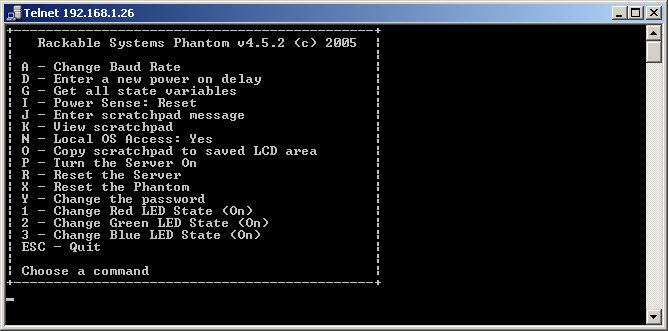
So thats it. Its all fairly simple when you know how. And more importantly when you have the manuals. I still have a few bits to iron out though. The current list is as follows:
- SNMP Monitoring
- SNMP Management
- Remote admin tool (the Phantom has a shell mode which can support automated functions)
- Thermal monitoring (may need a thermocouple)
- LCD (will need to source an LCD
As I find this information I will update this page. If you found this infomation useful, please update the forum thread here: Multiplay Forums
Information Summary
Documentation and Drivers
| PSU Manual (Mirror): | 1220241989xn2f8 (Rackable PSU).pdf |
| Mobo Download Site: | Arima Corp HDAMA Downloads |
| Mobo Manual (Mirror): | HDAMA Rev.G ver.3.02.pdf |
| XPort Download Site: | XPort Downloads and documentation |
| XPort Device Installer: | Device Installer |
| XPort Firmware Page: | XPort-03 Firmware |
| Rackable PDF site: | PDF Folder on FTP |
| Serial Phantom Manual (Mirror): | Phantom4Manual_2004-04-27_rc1.pdf |
| Roamer IP Manual (Mirror): | RoamerIP_UsersManual_1.1.pdf |
Configuration and Operation
| XPort Console Administration: | Telnet to port 9999 |
| XPort Web Administration: | Web browse to port 80 (default UN and PW are blank) |
| Phantom Serial Over LAN: | Telnet to port 10001 |
| Phantom Administration: | CTRL+SHIFT+6 during SOL session |